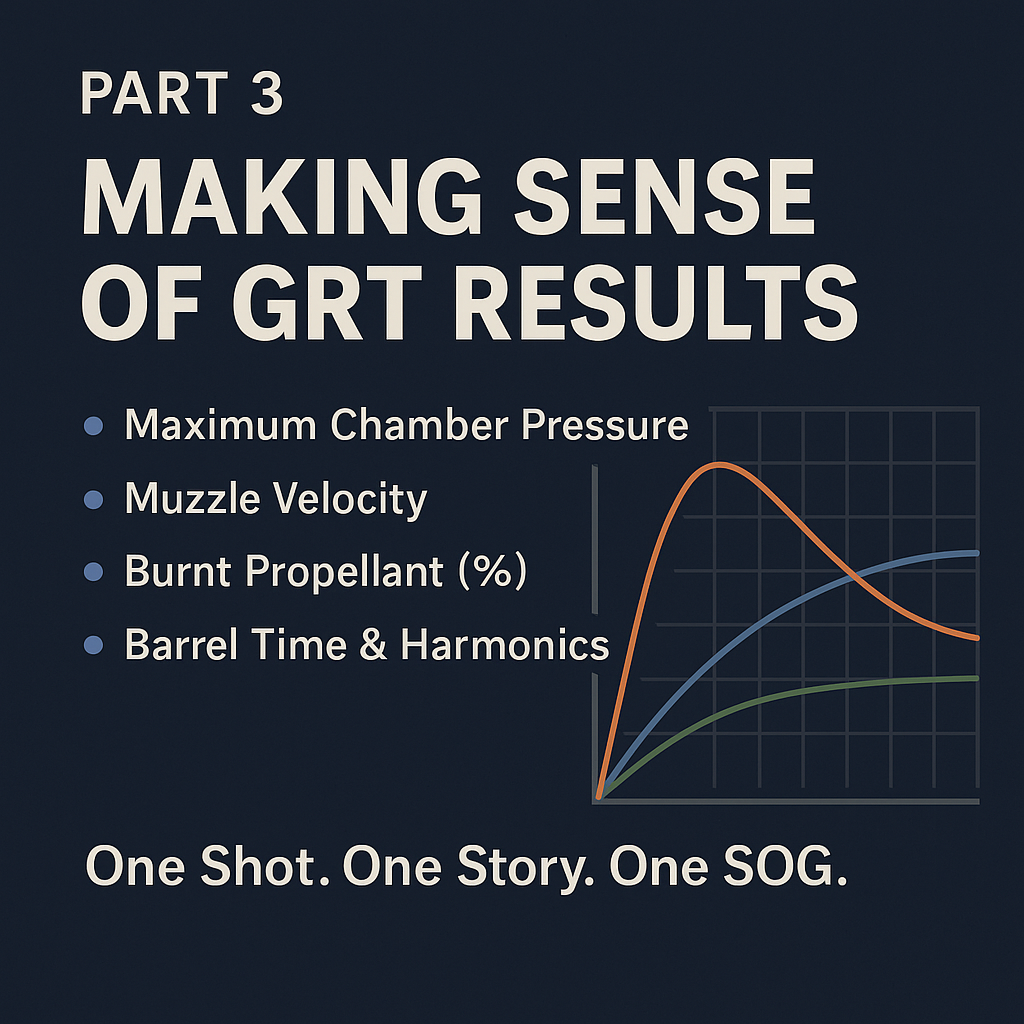
Making Sense of GRT Results — What the Numbers Really Mean (Part 3)
Share
You’ve installed GRT, entered your rifle, case, bullet, and powder, and clicked simulate. Now the screen is full of numbers, graphs, and coloured lines. But which ones actually matter for safe, accurate reloading? Let’s break it down.
1. Maximum Chamber Pressure (Pmax)
-
What it is: The peak pressure in your chamber during firing.
-
Why it matters: Too high = unsafe, too low = inefficient burn.
-
What to look for: Pmax should always stay under the CIP/SAAMI maximum for your cartridge. For example, 6.5 Grendel = 4050 bar.
-
Pro tip: Always allow a safety margin. Real-world brass and chambers vary.
2. Muzzle Velocity
-
What it is: The bullet’s speed leaving the barrel.
-
Why it matters: Dictates trajectory, energy, and external ballistics.
-
What to look for: Compare your GRT velocity predictions with published load data and confirm later on your chronograph.
3. Burnt Propellant (%)
-
What it is: The percentage of powder burned inside the barrel.
-
Why it matters: Low burn % = unburnt powder, wasted energy, dirty barrel.
-
What to look for: Ideally >90%. If it’s much lower, consider a faster powder.
4. Barrel Time & Barrel Harmonics
-
What it is: The time the bullet spends in the barrel before exiting.
-
Why it matters: Barrel time interacts with barrel vibrations. Loads that exit during a stable point in the barrel’s “whip” often shoot tighter groups.
-
What to look for: Use GRT’s OBT (Optimal Barrel Time) indicator as a guide. If your simulation lines up near an OBT node, that load is worth testing at the range.
5. Load Density (%)
-
What it is: Ratio of case fill to case volume.
-
Why it matters: Too low → erratic ignition. Too high → compressed loads that may spike pressure.
-
What to look for: Aim for 90–100% unless your manual specifies otherwise.
6. Warnings & Flags
GRT gives you messages like “Low burn rate!” or “Possible unsafe load!” Don’t ignore them. They’re hints that your powder may be too slow, your case volume is mismatched, or that pressure predictions are less reliable.
Putting It All Together
When you evaluate a simulation:
-
✅ Pressure under CIP/SAAMI limits
-
✅ Burn efficiency close to 100%
-
✅ Barrel time near an OBT node
-
✅ Velocity close to published data
-
✅ Load density in the 90–100% sweet spot
That’s a recipe for a promising test load.
Coming Up in Part 4
We’ll dive into building a proper load development ladder with GRT — using simulation to cut wasted components and zero in faster on the magic node for your rifle.